 العربية
⬜ Purchase Management in AurPOS
AurPOS allows you to accurately track your purchase operations—from invoice entry to performance analysis—helping you strengthen supplier relationships and manage costs more efficiently.
1️⃣ Add a New Purchase Entry
To begin recording a purchase:
Steps:
-
Go to Purchases → Add Purchase Invoice
-
In the Supplier Name field, start typing the supplier or business name
➤ If the supplier does not exist, add them via:
Contacts → Suppliers → Add
✨ (See article: Managing Customers & Suppliers)
Then enter the invoice details:
-
Purchase Reference Number
-
Purchase Date
-
Order Status (Draft, Confirmed, etc.)
-
Select the branch where the purchase is made
➤ To add a new branch:
Settings → Business Locations
2️⃣ Add Products to the Purchase Invoice
Steps:
-
Enter the product name or scan the product barcode
-
Select the product from the matching results to add it to the purchase list
After adding the product, enter:
-
Quantity Purchased
-
Purchase Price
-
Tax Information (if applicable)
3️⃣ Apply a Discount to the Purchase
Steps:
-
Select the discount type:
✅ Fixed
✅ Percentage (%) -
Enter the discount value
✔️ The final amount will be automatically calculated after applying the discount
4️⃣ Additional Information in the Purchase Invoice
You can also include additional details such as:
-
Purchase Tax
-
Shipping Details
-
Extra Shipping Charges
-
Payment Status (Paid, Partial, Unpaid)
-
Additional Notes (if any)


5️⃣ View Purchase List
To review saved purchase invoices:
-
Go to Purchases → Purchase List
6️⃣ Print Purchase Labels
To print product labels after a purchase:
-
Go to the Purchase List
-
From the invoice options, select:
⋯ → Print Labels
✨ (See article: Printing Labels)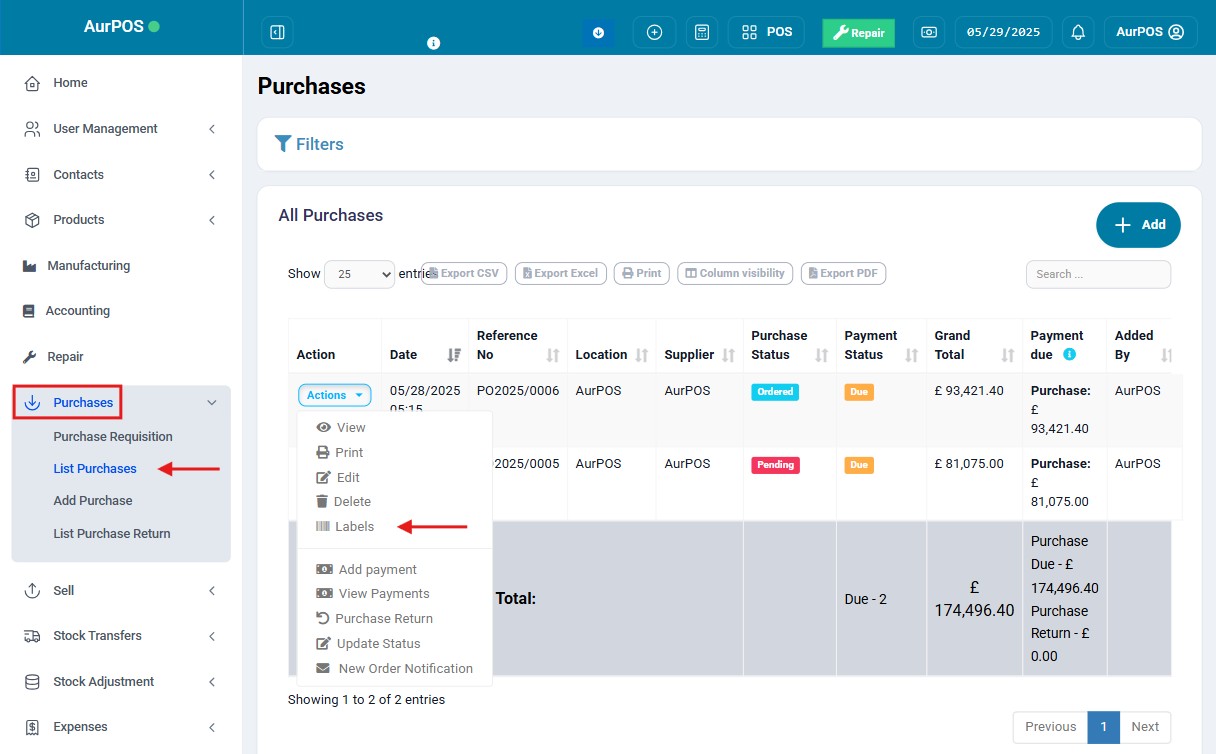
7️⃣ Error Message: No matching product found
This message may appear while adding products, for the following reasons:
❌ Reason 1: No matching product name or SKU
✅ Solution: Verify the product exists in your product list
❌ Reason 2: Product is not assigned to the selected business location
✅ Solution: Make sure the product is added to the correct branch via Add/Edit Product
❌ Reason 3: Inventory management is not enabled for the product
✅ Solution: Enable the Manage Stock option in the product settings
✨ (See article: Product Management)
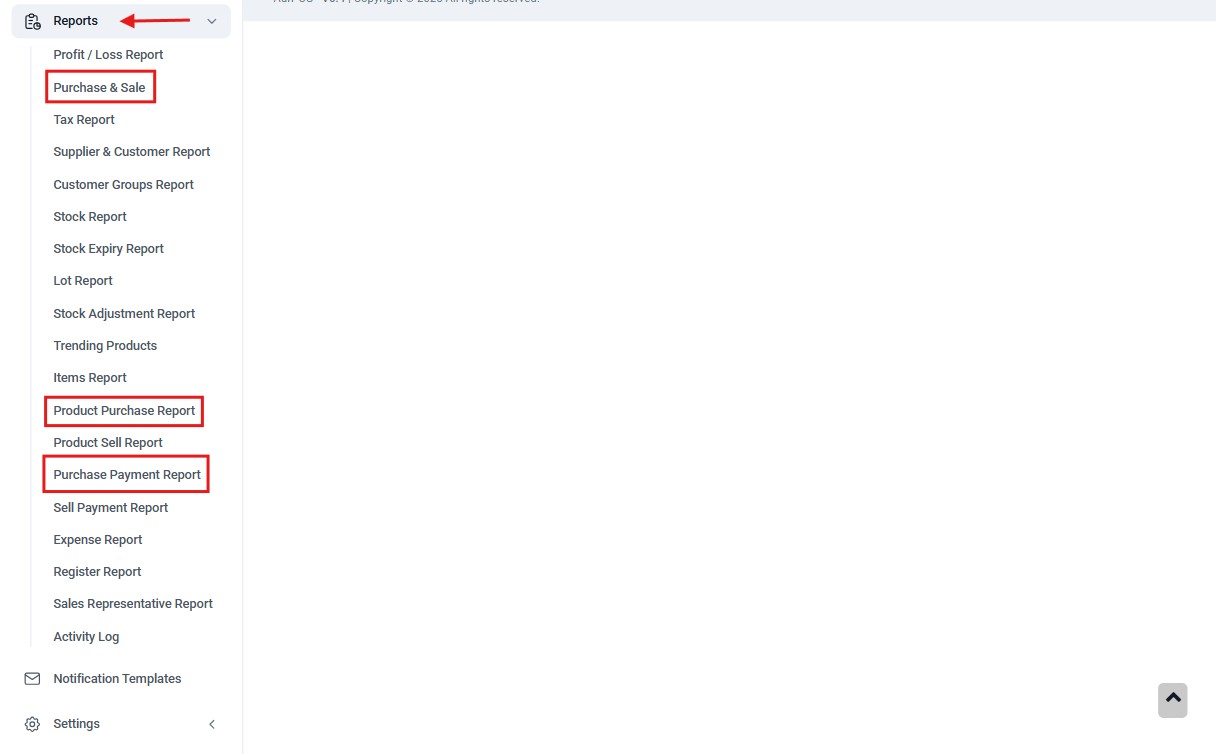
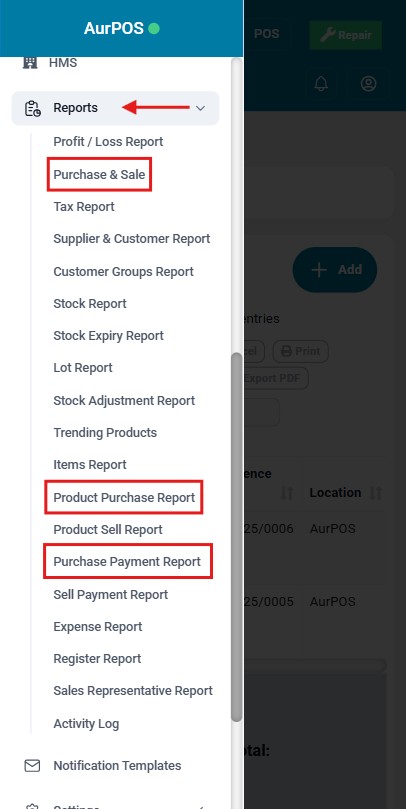
8️⃣ Purchase Reports
AurPOS provides three main reports to help analyze your purchasing activity:
✅ Purchase Report
Shows invoice details categorized by invoice status
✅ Item Purchase Report
Displays purchases based on individual product items
✅ Purchase & Sales Report
Compares purchase quantities and costs with sales data
✳️ Tip:
Use purchase reports regularly to monitor inventory movement, evaluate supplier performance, and make better purchasing decisions for your business.