 العربية
Adding user
Posted on 05 April 2025 11:53 am
⬜ Adding a User and Assigning a Location in AurPOS
AurPOS allows you to add new users, define their roles and permissions, and assign them to specific locations, making it easier to organize work and distribute responsibilities efficiently. Follow the steps below to add a new user.
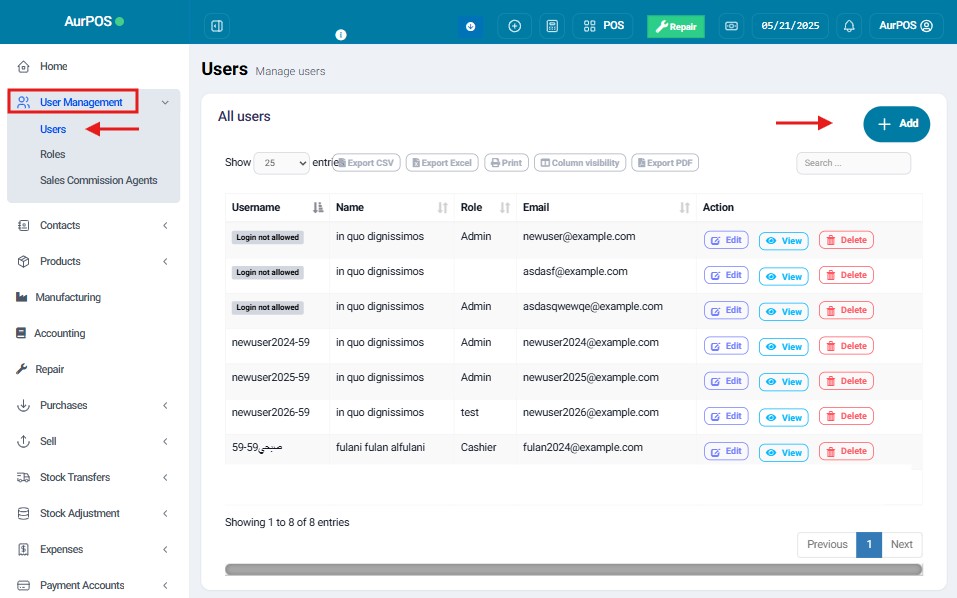
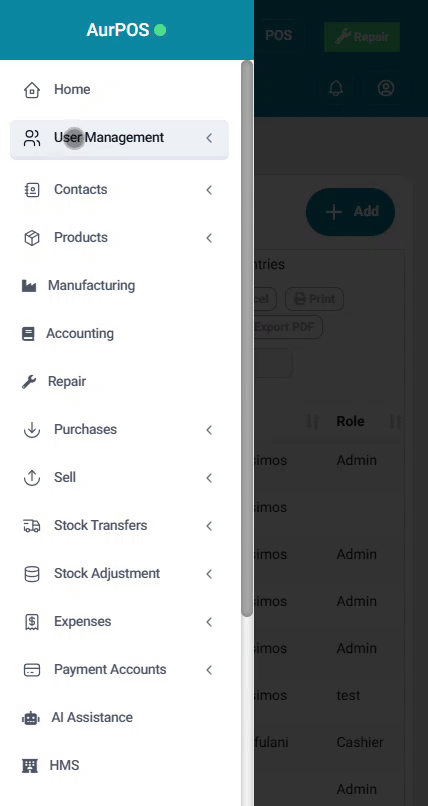
1️⃣ Navigate to User Management
- From the dashboard, go to: User Management → Users → Add New
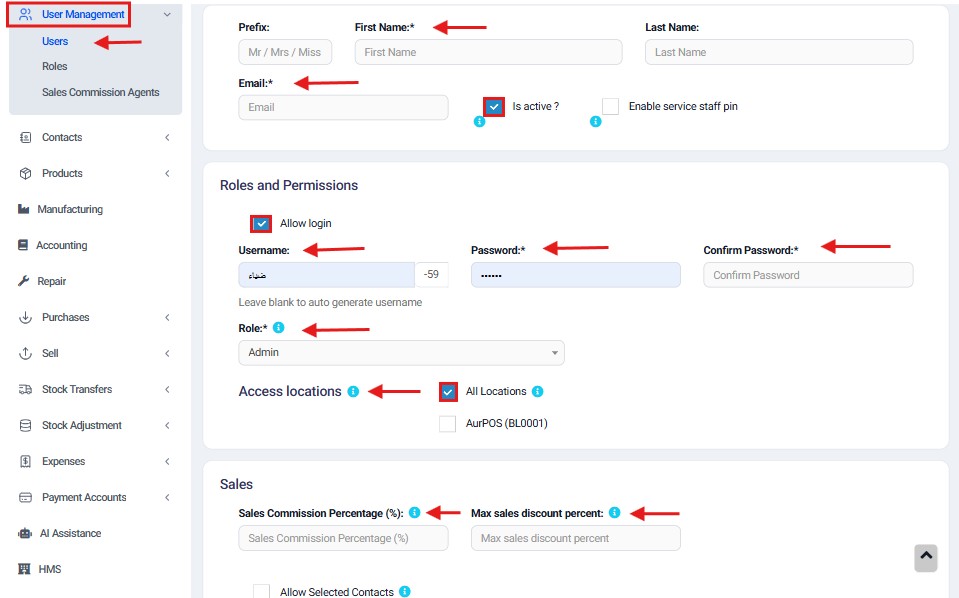
2️⃣ Enter User Details
- Enter the basic user information such as:
◽ Full name
◽ Email address
◽ Phone number (optional) - Select the appropriate user role (e.g., Cashier, Branch Manager, Supervisor).
- Assign a unique username for logging into the system.
3️⃣ Activate or Deactivate the User
- Use the “Is Active?” option to indicate whether the user is active in the system.
4️⃣ Enable or Disable Login Access
- Choose whether to allow the user to log in to the system or not.
5️⃣ Assign Locations
- Select one or more locations the user can work at.
(This step is essential to ensure their permissions are active within the assigned POS branches.)
6️⃣ Set Sales Commission Rate
- Enter the commission percentage this user will receive from sales.
7️⃣ Set Maximum Discount Limit
- Define the maximum discount the user can apply at the point of sale.
(Leave this field blank if there are no restrictions.

✨ Important Notes
- You can modify all these settings later as needed.
- Make sure to fill in all required fields to activate the user properly.
Do you still need help? Submit ticket
Most popular articles
Newest articles