 العربية
⬜ Product Expiry Management in AurPOS
The Product Expiry feature in AurPOS provides a comprehensive set of tools to accurately track expiry dates. This helps reduce waste and ensure product quality—especially in sensitive sectors such as food, pharmaceuticals, and cosmetics.
1️⃣ Enabling Product Expiry
To start using the expiry tracking feature:
Steps:
-
Go to Settings → Business Settings → Product
-
Enable the option "Enable Product Expiry"
-
Choose the preferred tracking method:
-
Manual expiry date entry: Enter the expiry date manually when creating a purchase invoice.
-
Production date + shelf life:
-
Enter the manufacturing date during the purchase
-
Set the shelf life duration in the product card
-
The system will automatically calculate the expiry date (with the option to edit it later)
-
-
2️⃣ Expiry Action Settings
Decide how the system should behave when a product expires:
✅ Continue selling: Allows selling the product even after its expiry date
❌ Stop selling before expiry: Blocks the sale a certain number of days before the expiry date (you can set the number of days manually)

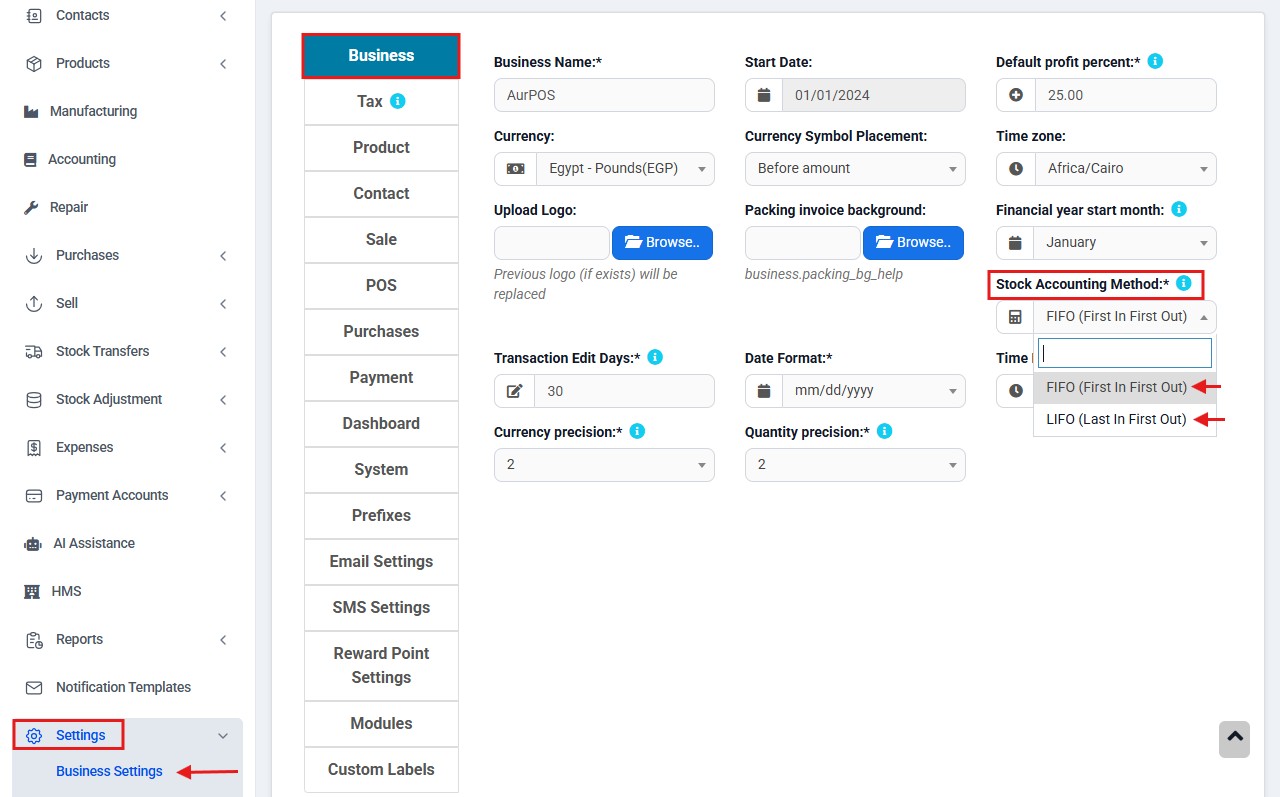
3️⃣ Inventory Accounting Method
Choose the method for stock deduction:
-
FIFO (First-In, First-Out): Older batches are sold first
-
LIFO (Last-In, First-Out): Newer batches are sold first
Steps:
-
Go to Settings → Business Settings → Business
-
Modify the "Stock Accounting Method" as needed
⚠️ Note: You must select the method before starting sales for it to apply correctly.
4️⃣ Expiry Report
Track products approaching their expiry date using a dedicated report:
Steps:
-
Go to Reports → Stock Expiry Report
-
Use the available filters such as:
-
Category
-
Brand
-
Expiry Date (view inventory accordingly)
-
-
Click "Edit" from the product list to update:
-
Remaining quantity
-
Shelf life duration
-
✔ When you reduce the quantity, the system will automatically adjust the unit purchase price.
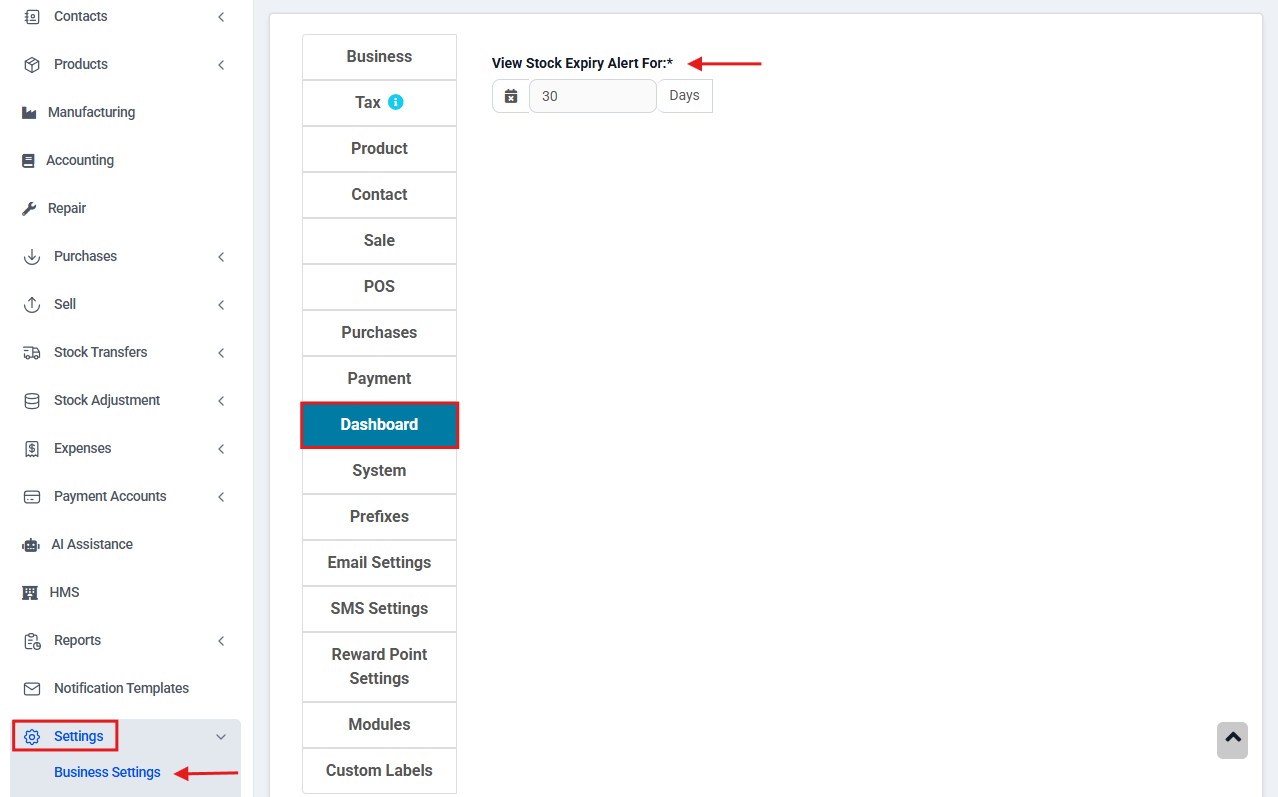
5️⃣ Expiry Alerts on the Home Page
Receive real-time alerts for products nearing expiry.
Steps:
-
Expiry alerts appear at the bottom of the home page
-
To set the number of alert days:
-
Go to Settings → Business Settings → Dashboard
- Adjust the "Stock Expiry Alert Days" option
-
6️⃣ Display Expiry Date on Invoice
Make expiry information visible on printed invoices:
Steps:
-
Ensure the Product Expiry feature is enabled
-
Go to Invoice Settings
-
Enable the option "Display Product Expiry Date"
-
At the time of sale, select the expiry date from available batches
- The selected date will automatically appear on the printed invoice
✳️ Tip:
Utilizing Product Expiry Management in AurPOS enables you to:
✅ Reduce waste
✅ Ensure product quality
✅ Maintain compliance with industry safety standards
Make expiry tracking a core part of your inventory management strategy for a more professional and reliable customer experience.