 العربية
⬜ Managing Product Warranties in AurPOS
The Product Warranty feature in AurPOS offers an effective way to build customer trust and accurately track service periods. You can define multiple warranty types, assign them to products, and display warranty details on printed invoices.
1️⃣ Enabling the Warranty Feature
Steps:
-
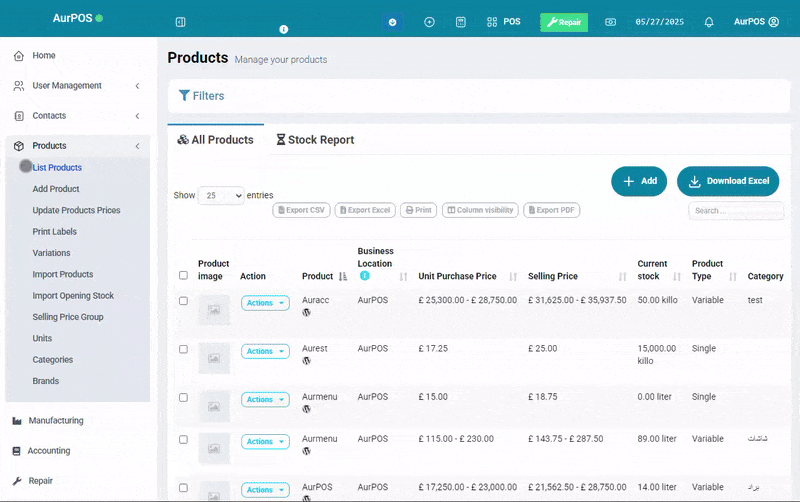
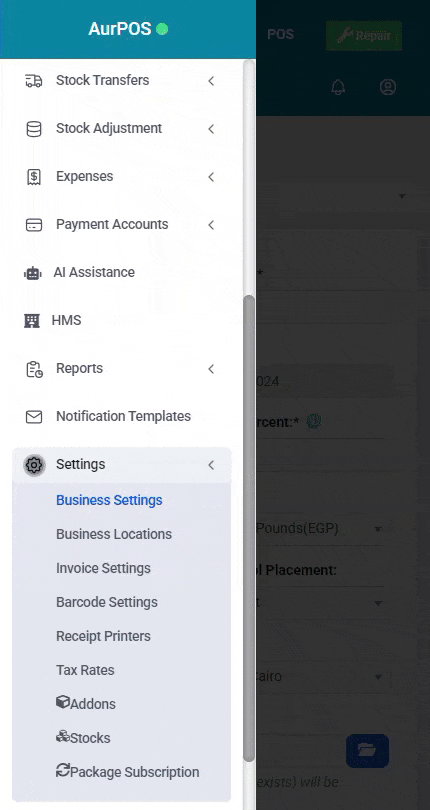
Go to Settings → Business Settings → Product
- Enable the “Enable Warranty” option to start using warranty features


2️⃣ Adding Warranty Types
You can create multiple warranty types based on the nature of your products or services.
Steps:
-
Go to Products → Warranties
-
Click the “Add Warranty Type” button
- Enter the following details:
◾ Warranty Name
◾ Warranty Duration (in days, months, or years)
◾ Additional Conditions (optional)

3️⃣ Assigning a Warranty to Products
Steps:
-
When adding or editing a product, go to the Warranty field
- Select the appropriate warranty type from the dropdown list
4️⃣ Selling Products with Warranties
When selling a product with a warranty:
✅ The sale date is automatically used as the warranty start date
✅ Warranty information can be displayed on printed invoices
Steps:
-
Go to Invoice Design Settings
- Enable the option “Display Warranty on Invoice”
 ✳️ Tip:
Using the Warranty system in AurPOS:
✅ Boosts customer confidence
✅ Helps manage service periods efficiently
✅ Adds professionalism to your sales and after-sales process