 العربية
⬜ Roles and Permissions Management in AurPOS
AurPOS allows you to efficiently organize permissions within your business by managing roles and defining what each user can access. In this guide, we'll walk you through the default roles, how to create new roles, and how to manage permissions easily.
1️⃣ Default Roles in the System
When you create a new business, default roles are automatically assigned, including:
✅ Admin
Has full access to all sections and features within the system.
✅ Cashier
Has limited access, restricted to the Point of Sale (POS) section only.
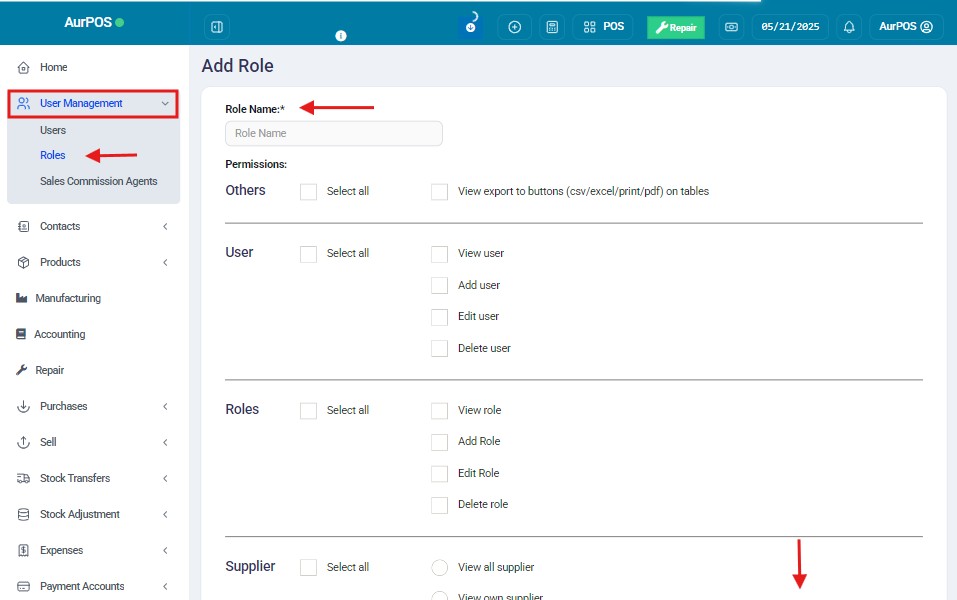
2️⃣ Creating a New Role
To create a custom role tailored to your business needs:
-
Click the "Add Role" button.
-
Enter the name of the new role (e.g., Inventory Supervisor, Marketing Manager...).
-
Select the appropriate permissions for this role from the available list.
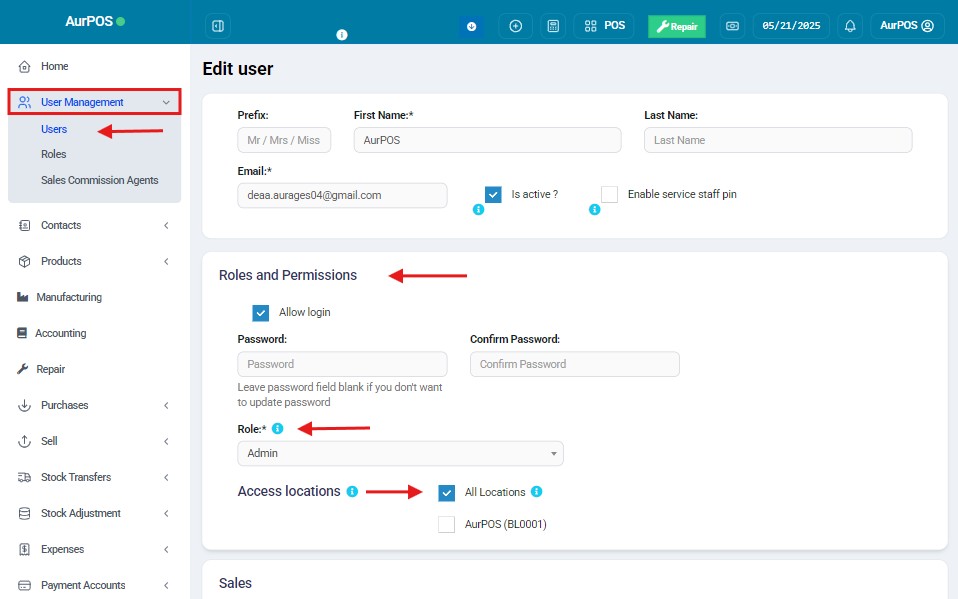
3️⃣ Assigning Access to Specific Locations
In some cases, you may want to limit a role’s access to specific business locations.
To do this:
✅ Go to the "Access Locations" option while setting up the role.
✅ Select the specific locations this role (or associated user) can access.
✅ To grant access to all locations, choose the "All Locations" option.
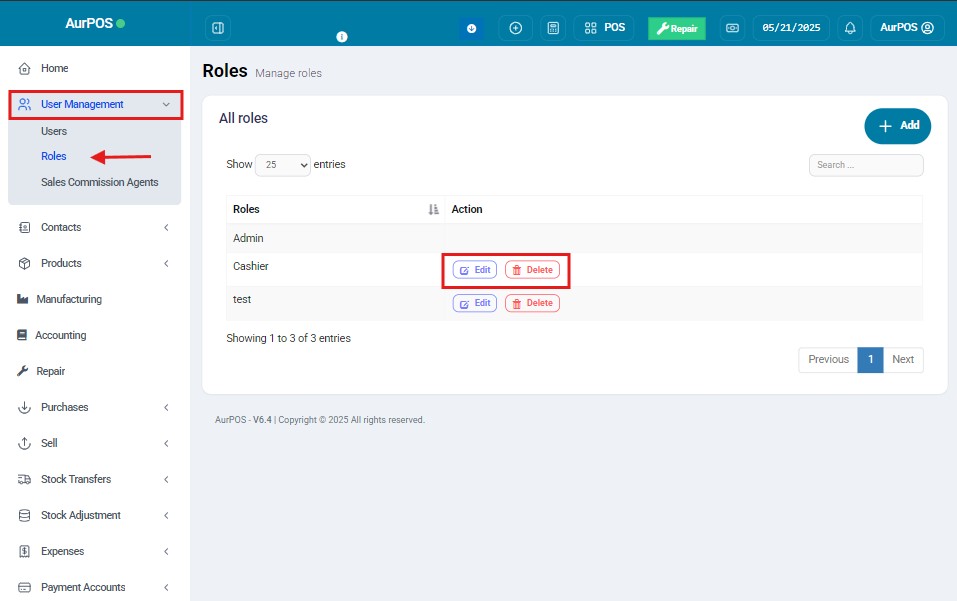
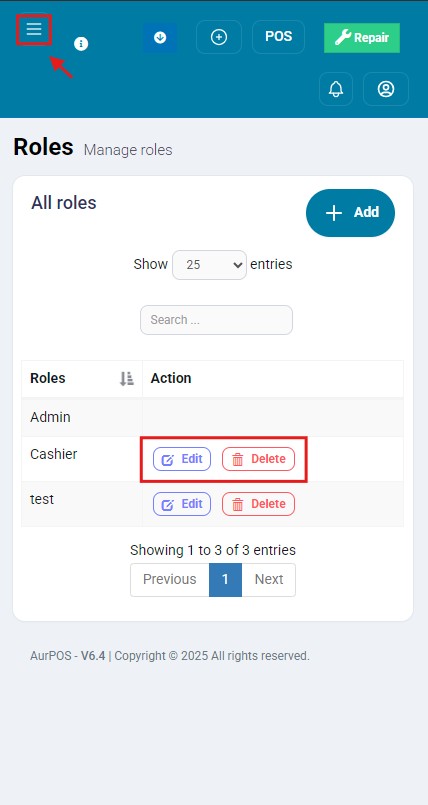
4️⃣ Editing or Deleting Roles
You can modify the permissions of any role or delete it entirely at any time, depending on your business requirements:
✅ Go to the roles list.
✅ Click "Edit" to change the role’s name or permissions.
✅ Click "Delete" to remove the role if it’s no longer needed.
✨ Important Notes
-
Make sure to assign roles and permissions carefully to avoid unauthorized access to sensitive areas of the system.
-
You can always modify any role’s settings later without affecting other users.